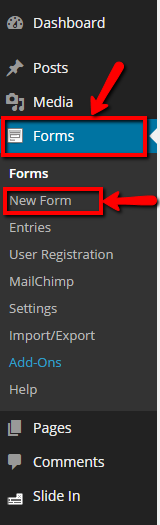
Step 1. Click on the tab that says Forms, and go to New Form
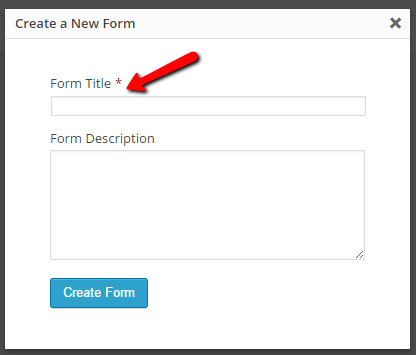
Step 2. Create Survey Title
You will see a box that looks like the one below. Create a form title (mandatory), and form description (optional) and click on create form.
Step 3. Add Name and Email
On the right hand side of the page you will see Standard Fields, Advanced Fields, Post Fields, and Pricing Fields. Go to Advanced Fields and click on the name first, then click email. These will be added to your survey form.
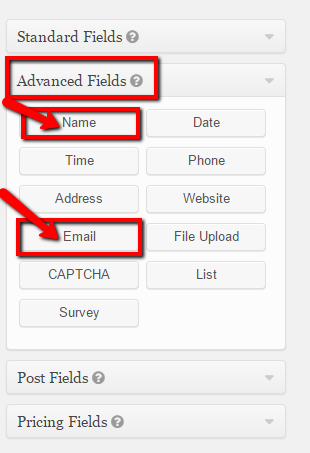
Note: in order to open the settings for each field you click on the arrow one top right hand corner.

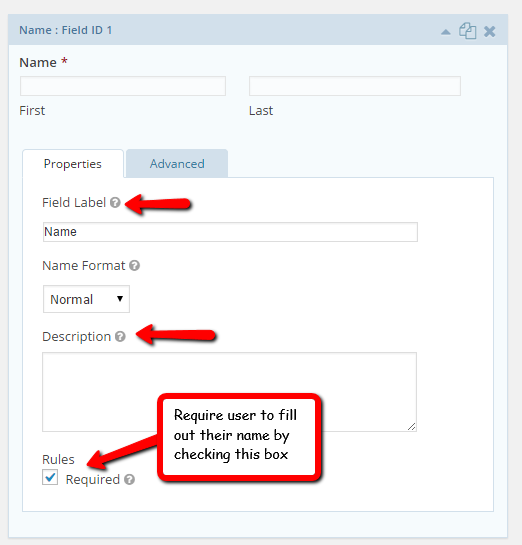
Step 4. Edit Name Settings
-Edit field
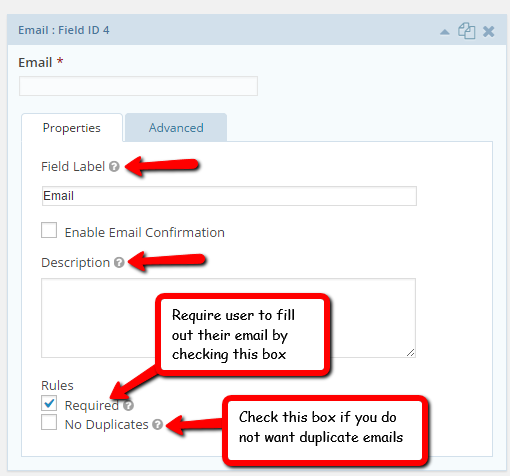
Step 5. Edit Email Settings
-Edit field
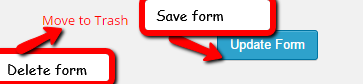
Step 6. Save- click on Update Form on the right hand side
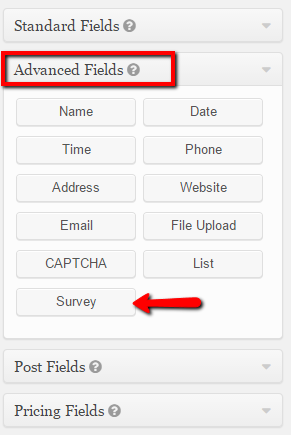
Step 7. Create Survey Questions
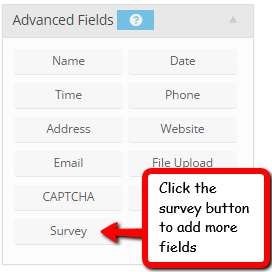
Once you have added the name and email, you will need to create your survey questions. Go back to Advanced Fields than click on Survey.
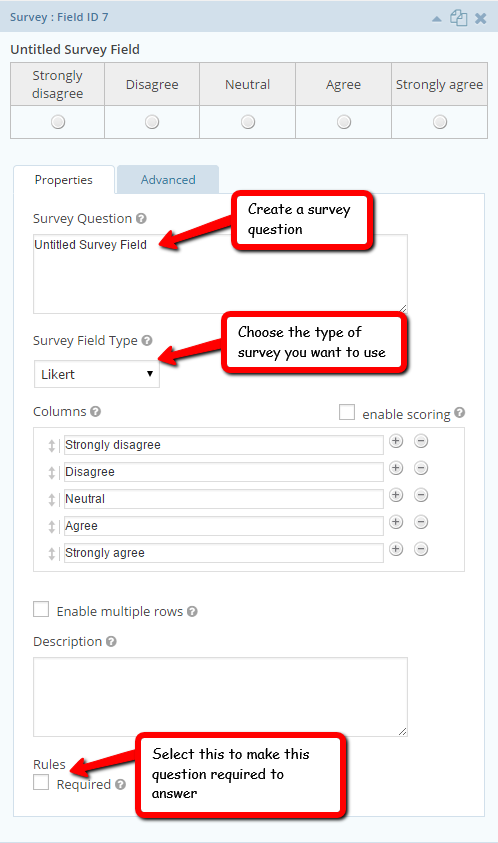
Step 8. Edit Survey Question
Note: in order to open the settings for each field you click on the arrow one top right hand corner.
You will then edit your survey field. Add a survey question, choose which survey type you would like to use, add a description, and check the boxes that are appropriate.
Step 9. Save- click on Update Form on the right hand side
Step 10. Add Survey Questions If Needed
In order to add more survey questions you go back to advanced fields and select survey. (You can rearrange your survey questions when you are done creating them to make them more organized.)
Note: When you are finished creating your survey form, you can preview your form before you save, as shown below:

Step 11. Save- click on Update Form on the right hand side
Step 12. Notifications
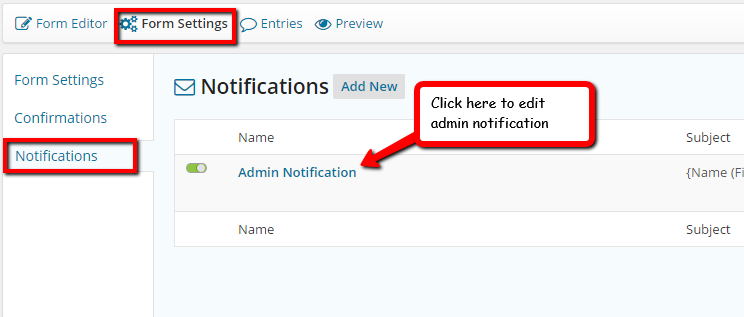
Notifications are the emails that are sent.
a. Go to form settings, select notifications, and click on admin notification
Step 13. Edit Notifications
Step 14. Save your settings by clicking “Update Notification” at the bottom of the page.
Step 15. Send A Notification Email To User Filling Out Survey
You can send an email to the user filling out the survey form.
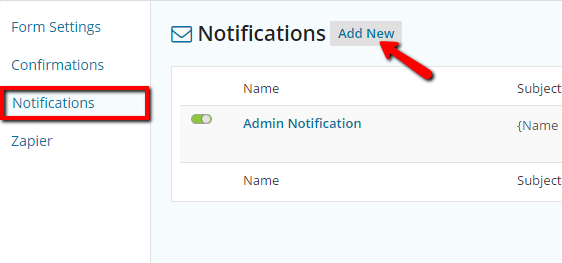
a. You can add additional notifications by simply clicking “add new”
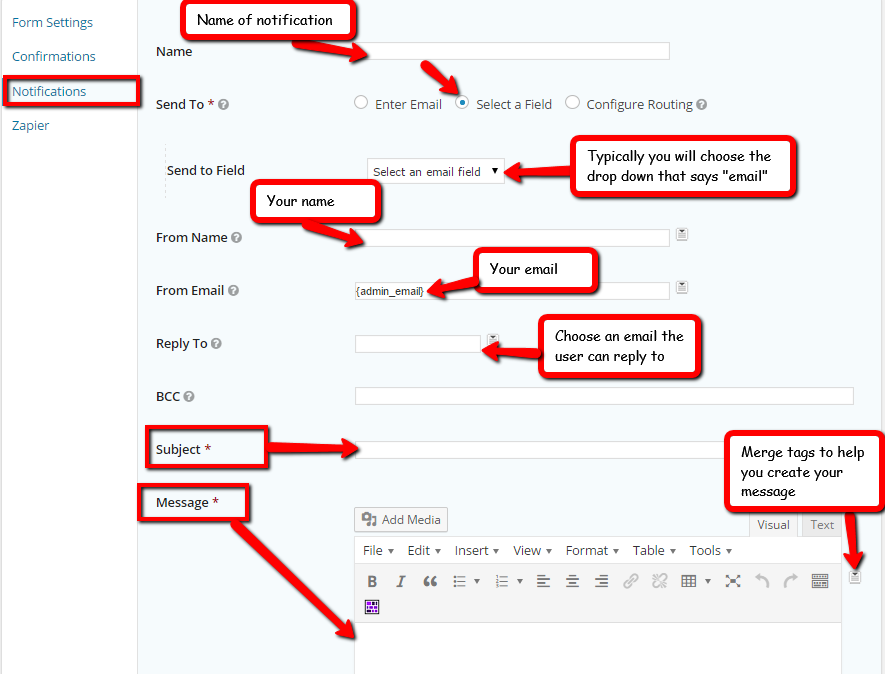
b. Edit Notification
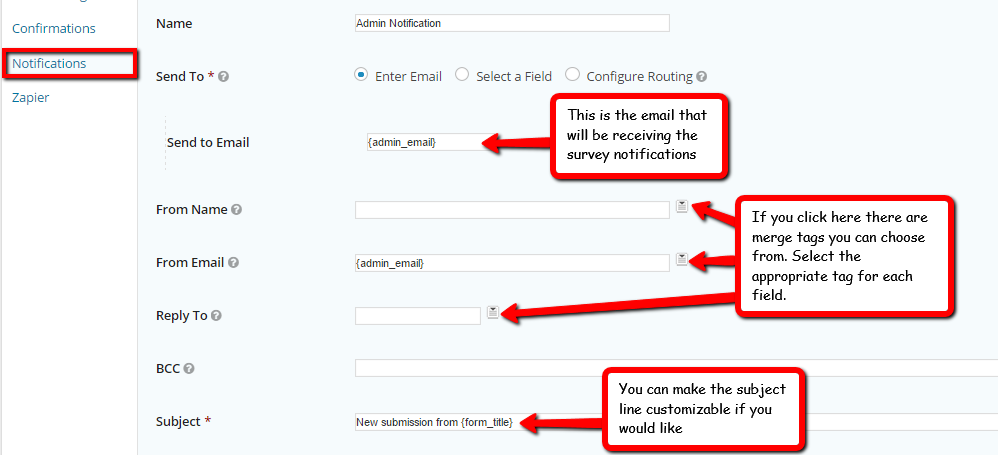
1. Name: of the notification
2. Send to: you will click on select a field
3. Send to Field: Click on drop box and select email
4. From Name: Your name
5. From Email: Your email
6. Reply to: This is the email you want your user to reply to
7. BCC: If you want to add another email
8. Subject: The subject of your email
9. Message: Create your message
Step 16. Save Notification
Step 17. Confirmations
Confirmations is what happens online after the form is submitted as to whether the user is redirected to a text message, a specific page on the site, or a specific URL.
a. Go to form settings, select confirmations, and click on default confirmation

Step 18. Edit Confirmations
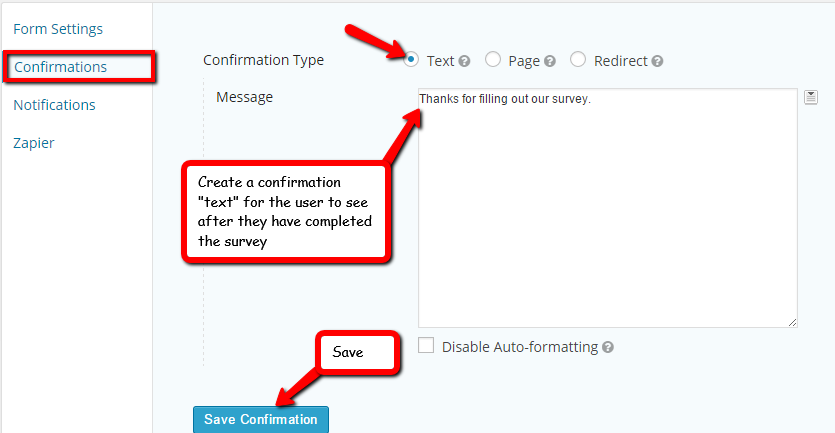
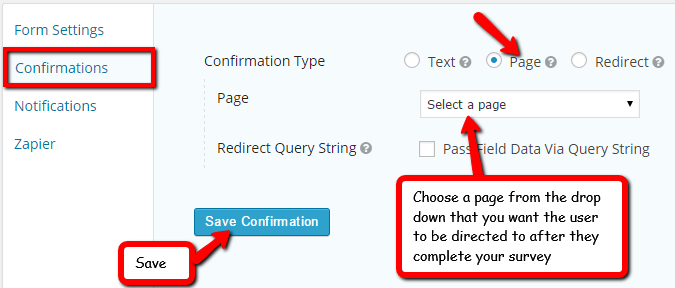
There are 3 different ways to set up a confirmation. You can choose to have a text, direct to a page, or redirect to any URL.
a. Text
b. Page
c. Redirect
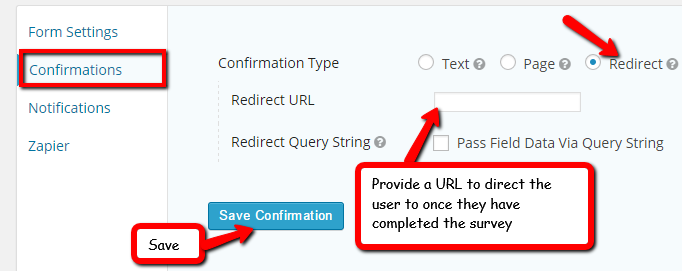
Step 19. Save
Step 20. Creating Survey “Page” To Place It On Your Website
Now that you have created your survey you will want to place it on your website.
a. Add a new page
b. Create a Title and add survey into that page by clicking “add form” at the top of the page.
c. Update to save page.
d. Go to Appearance in the side bar menu
e. Go to menu
f. Click on the page you just created, and add it to your menu. Once you’ve added that page you can drag it wherever you want it show up on your menu.
G. Save Menu (Now you can see your survey on your website)
Step 21. Save
Now that you have finished all the steps to create your survey you will want to save by simply selecting update on the right hand side.